Merging Pictures
I can be contacted at E-mail address:-
![]()
Merging PicturesI can be contacted at E-mail address:-
|
|
|
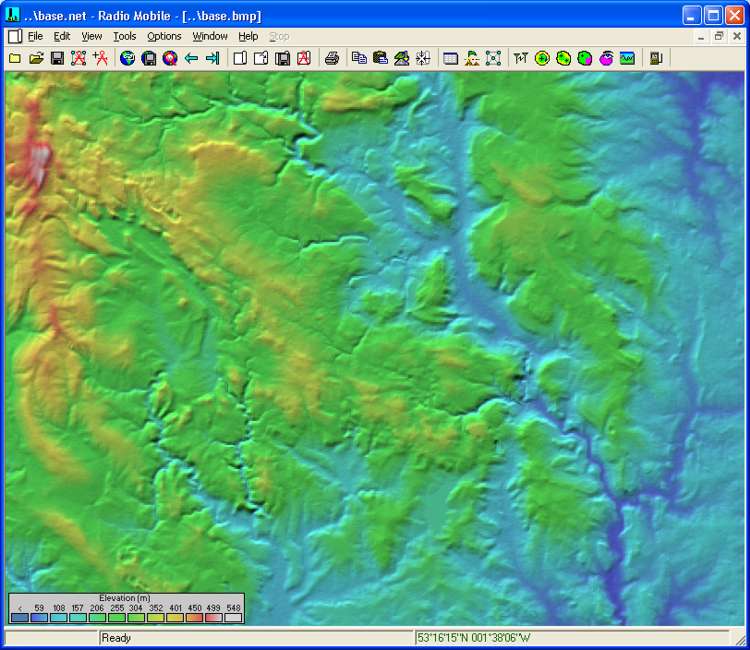
The Merge picture function enables you to overlay data onto an open picture from a number of external sources, or another picture. If this is performed over a map, the resulting picture will retain the elevation matrix attributes.
A click on the
toolbar Icon
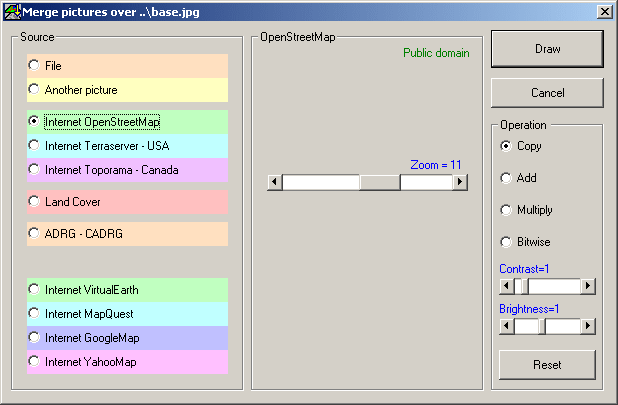
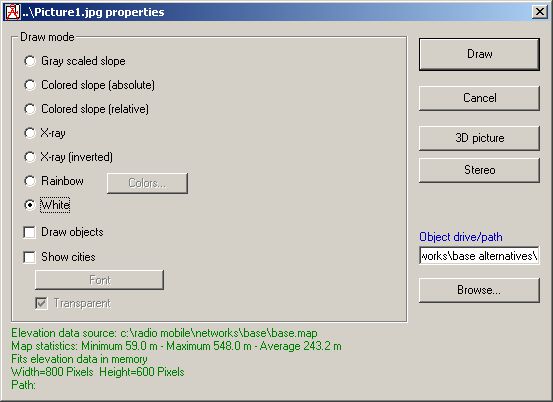
Using 'F7' or by opening 'Edit/Merge Pictures' will produce this pane:
If however you see the pane in this form without the other external merge sources:
The file 'Map_Link.txt' hasn't been accessed and modified as per the warning note on my 'Quick Start' page. This note is repeated here for information:
To activate the 'Merge' internet download links from Virtual Earth, MapQuest, GoogleMap and YahooMap, the file 'Map_Link.txt' has to be viewed. This file contains links to the legal requirement for access to, and use of, the data from these servers. If you agree to the conditions, you can modify and save the file as per the contained instructions which will provide access. The file resides in the root of my Radio Mobile folder.
If you have modified Map_Link.txt after finding no access to the external sources, these download sources will become available next time you open the Radio Mobile program.
The 'Merge Picture' function, provides the facility to merge a source over the active picture in four modes. Copy: produces a unprocessed version of the downloaded data, Add: this logically adds the source data to the active picture, Multiply: is a logical multiplication of the active picture with the source data, Bitwise: is a logical 'AND' function of the source data with the active picture.
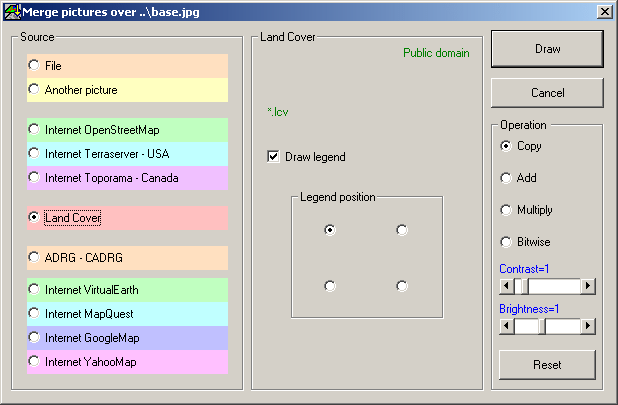
The merge source can be selected from another open picture, or one of the data sources listed. It should be noted that the files will be saved from the internet, and the location folders have been selected in 'Options/Internet' with the 'Download and save a local copy' action by the installation file.
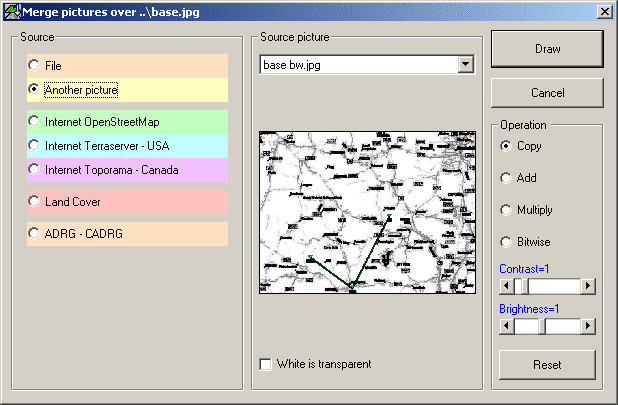
Merging over another picture: When merging over another open picture as shown selected above, a thumbnail of the picture is displayed as shown to allow confirmation of your merge selection choice. One further note, where the select destination picture contains a 'SIG' signal level file associated with it, the merge function will generate a picture still associated with the SIG file. This allows a coverage plot on a blank white picture to have a road map plotted over it, and retaining the signal level report at the cursor position on the new picture.
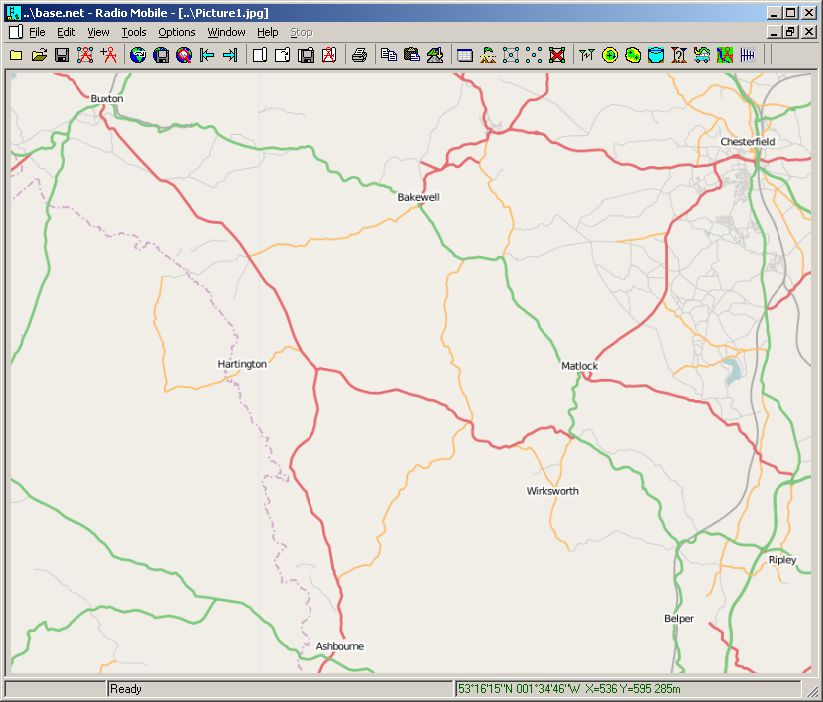
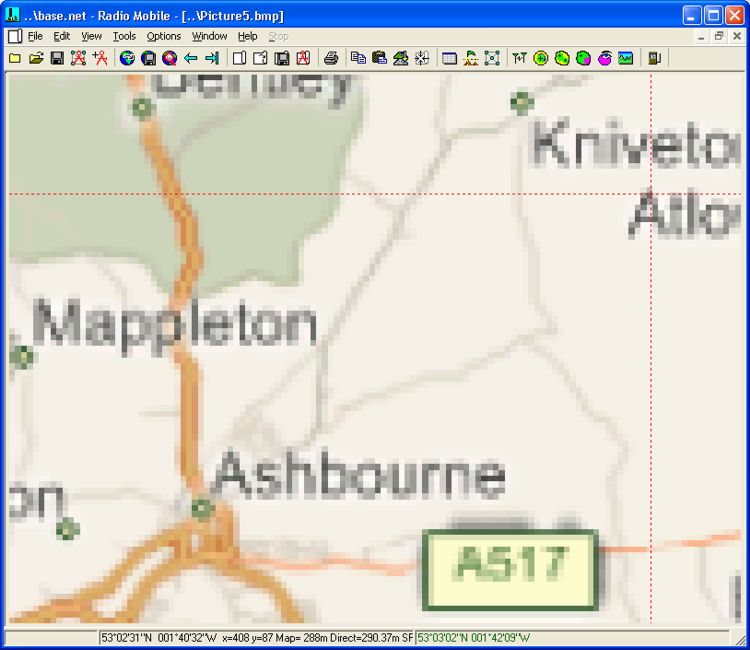
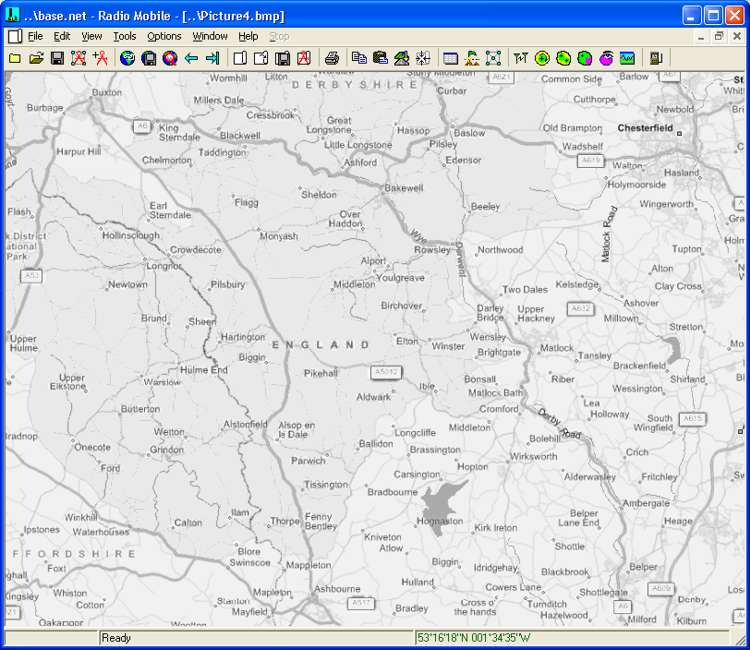
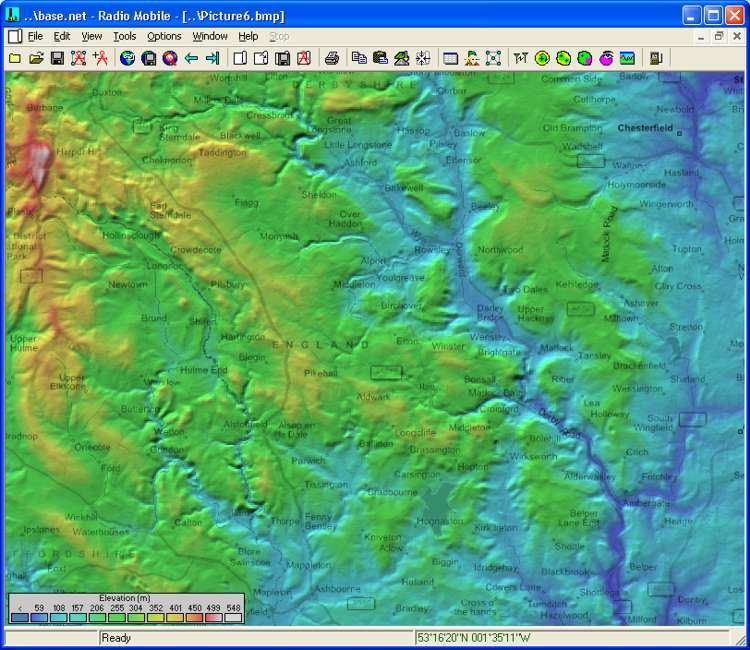
Copy: As an example, the above 'Copy' settings were used to download a Road map, from OpenStreetMap, for my Base Network as below, which was 'kept in new picture' :-
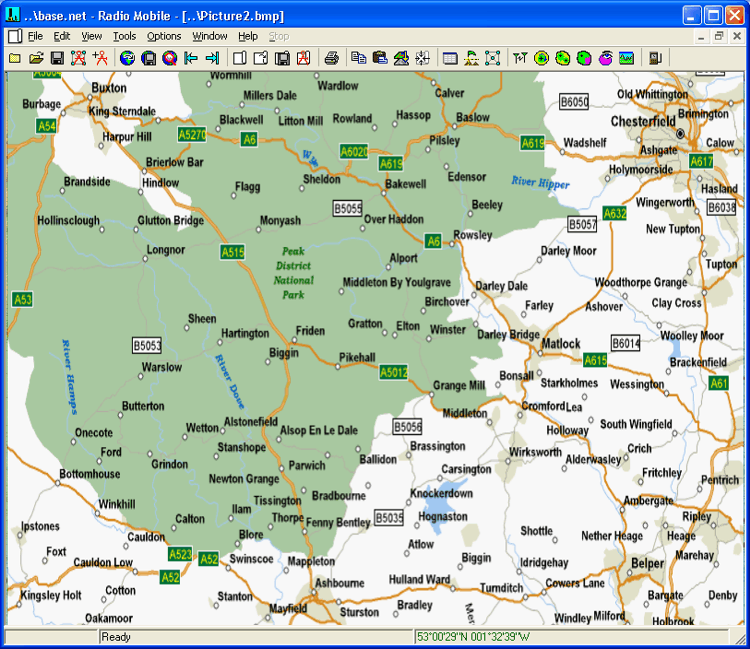
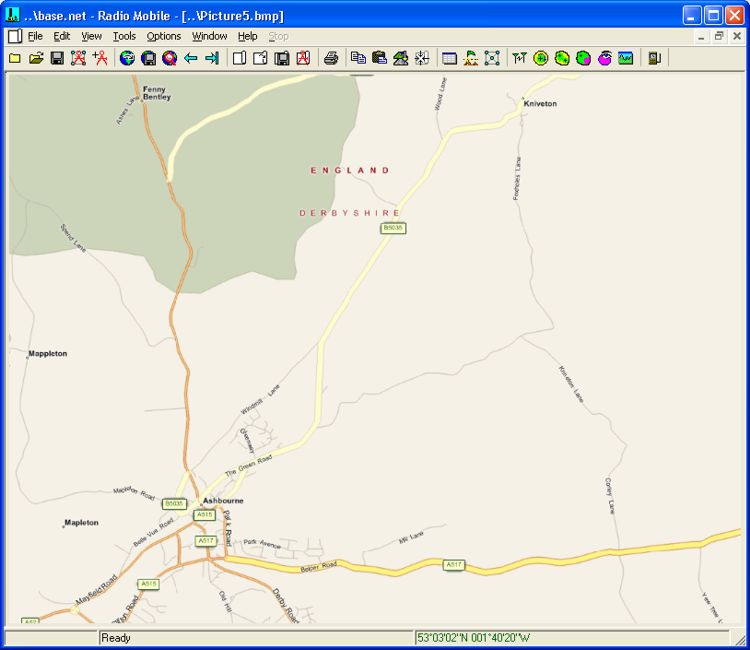
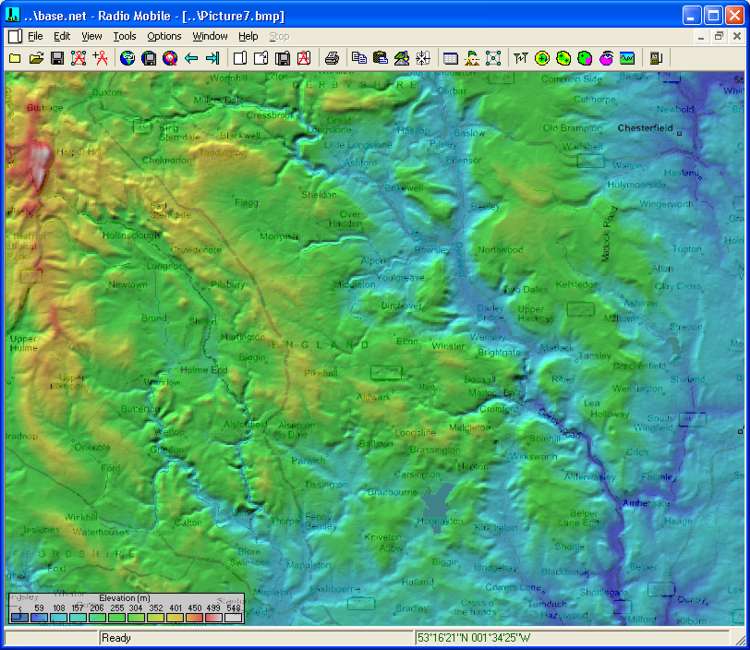
An alternative Road map source is MapQuest, which produces the picture below:-
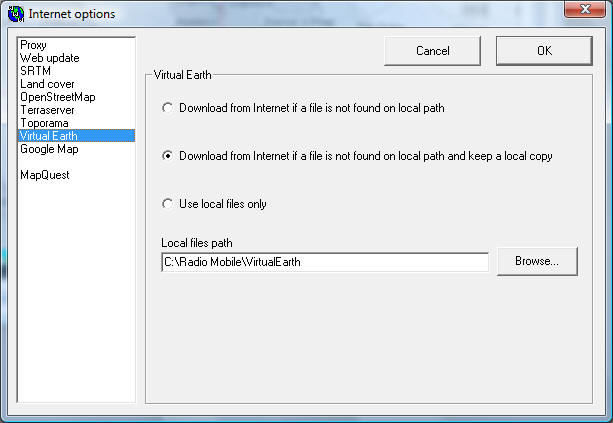
To use Virtual Earth for downloads and save the files locally, it is necessary to have a path to the Virtual Earth folder located in the root of the Radio Mobile directory. This can be checked by opening 'Options/Internet' and clicking on the Virtual Earth button to obtain:
where the Local file path can be seen, and 'Download and save' selected as above. (A similar procedure is used for Google Map, Yahoo Map, Toporama, Terraserver, Open Street Map and Landsat data).
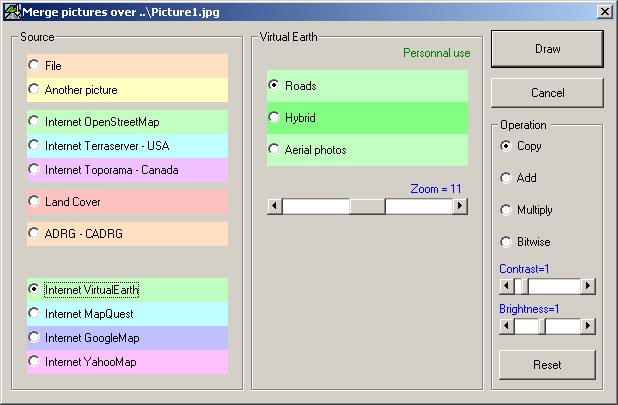
Opening the 'Merge pictures over' pane, and selecting 'Virtual Earth' will then produce:
where the Roads option can be selected. The zoom level is automatically adjusted to optimise the downloaded file resolution, and minimise the download size for the area to be covered. (Maximum detail will be obtained at a zoom level of 20).
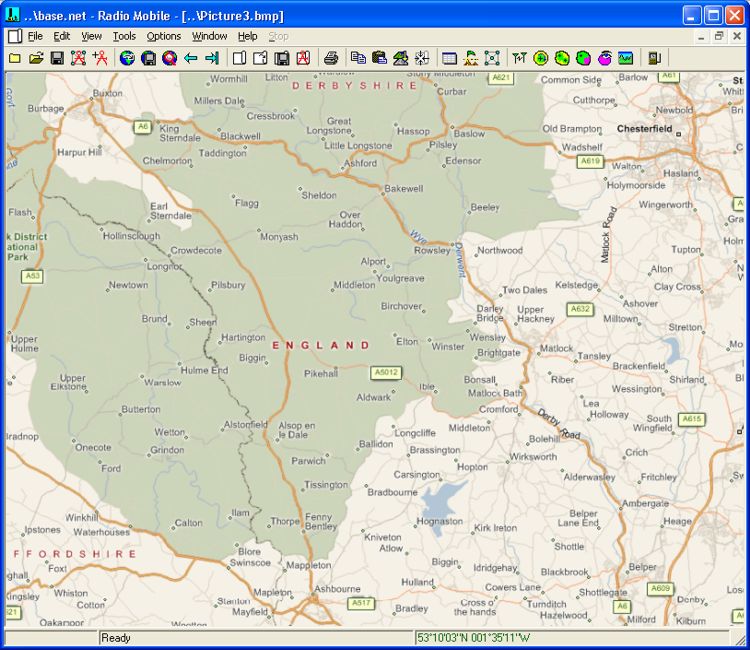
The resulting road map from Virtual Earth is shown here:-
With Virtual Earth there is the option to select Roads, an aerial photograph, or a hybrid view (being an aerial photograph with roads merged over it).
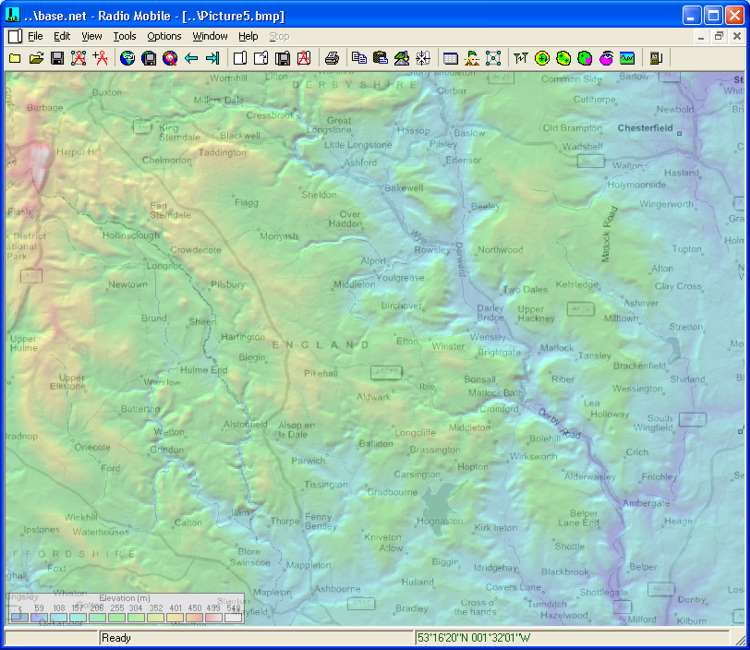
Each of these maps are useful when kept as a 'New picture', (which can then be closed if not required without saving), to locate the position of the elevation map. They are all scaled to fit the base map over which they are merged, with more detail being available as required as the map area is reduced. It should also be noted that the merge function works on zoomed areas which is particularly useful when placing waypoints accurately for Routes.
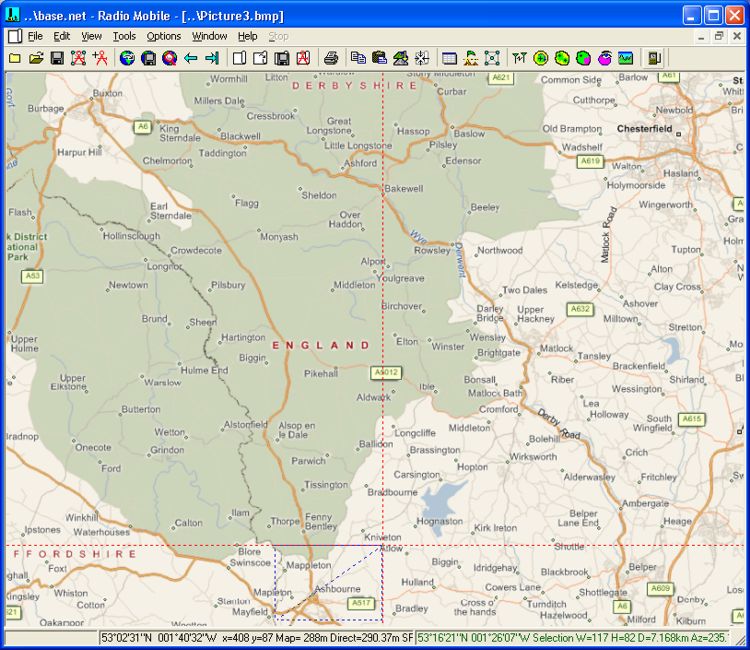
Taking the Virtual Earth plot above, a marquee box can select an area with a 'left click and drag' function to produce this view:-
And a 'right click' in the marquee box produces a low resolution, zoomed screen version, of the selected area:-
Once again, selecting Merge/copy from Virtual Earth, and 'keep in the picture', produces this higher resolution picture of the selected area:-
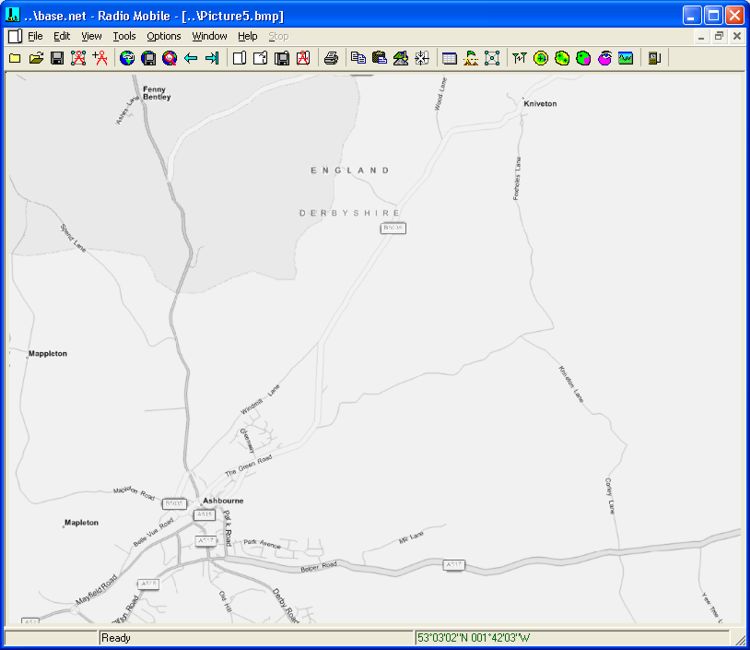
Where the added detail can be seen. This picture can then be forced to greyscale using 'Edit/Force greyscale' to produce a picture suitable for Cartesian coverage plots, or merging with another active picture:-
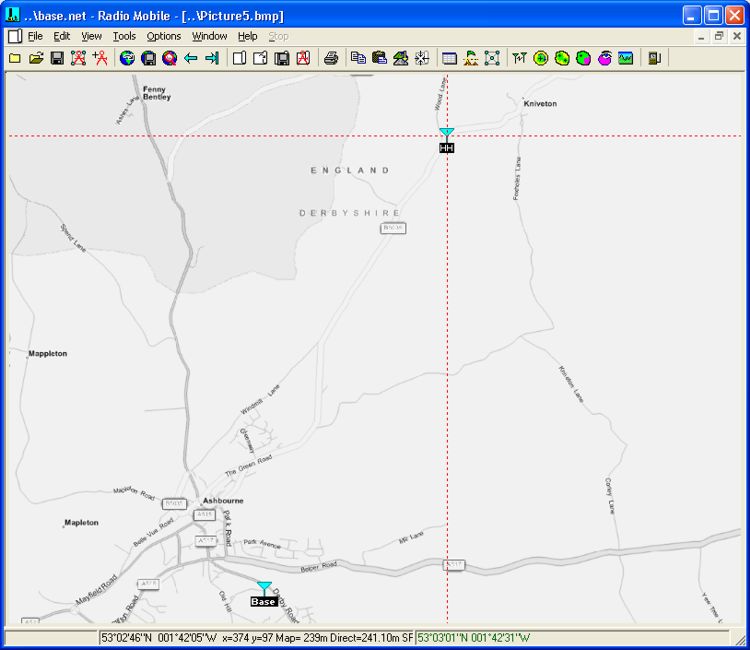
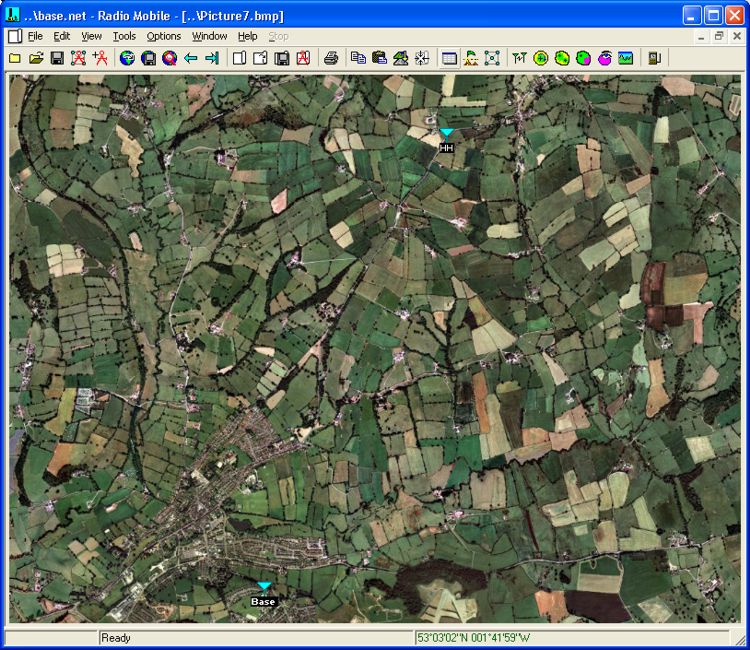
Showing Networks, and moving the HH unit on screen to the cursor position (File/Unit Properties/click on Unit - Place Unit at Cursor Position) then produces this picture:-
This picture can be used for Cartesian (not Polar!) plots if required, or a merge/copy with an aerial photo can be performed to produce this view:-
The zoom and merge functions enable Units to be placed at exact positions on the main map when their coordinates are only known approximately. Any of the pictures can be saved for further use under your own name using 'File/Save Picture as', or by clicking the appropriate toolbar icon.
Add, Multiply, Bitwise: Taking Picture 3 above, the coloured road map from Virtual Earth, and forcing greyscale using 'Edit/force greyscale' produces a black and white version of the road map which can be 'kept in new picture' :-
First Add:
This function isn't suitable for the pair of pictures chosen for this merge, although modification of the Brightness and Contrast sliders may produce a picture suitable for purpose with other picture sources.
Second Multiply:
This is the function I prefer for my style of pictures - the density of the black/white picture can be adjusted using contrast and brightness sliders as before, and the legend refreshed using 'Edit/Redraw last Legend' to produce:-
Third Bitwise:
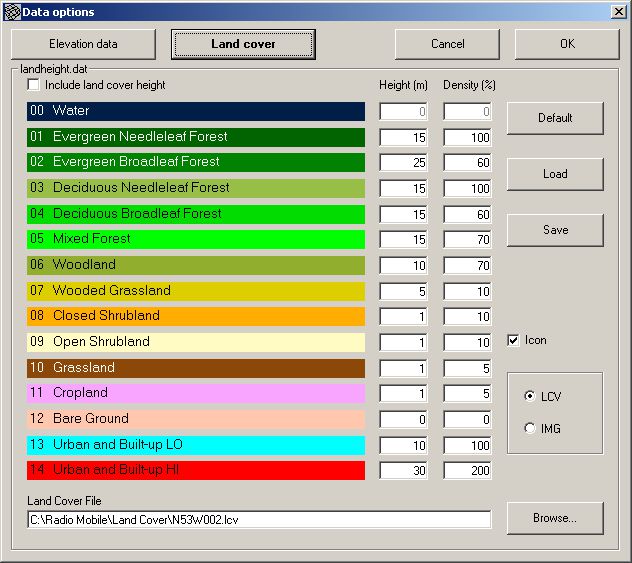
Land coverage data:- Where Landcover merges are required the *.lcv files will be downloaded as required from the Internet and saved in the Landcover folder for later use. These files are now available from the servers for the whole world.
On selecting Landcover the location and/or use of the legend can be selected as shown.
The 'Options/Elevation data' Land cover tab is shown below, where the different default densities of the coverage types are displayed.
But also see the other
use for Land cover data here:
This page is available in .pdf format here
Please keep checking back for updates/additions.
© Copyright G3TVU 26th October 2017
|